Chocolate Peppermint "Bounty" Cups
Rich, bittersweet dark chocolate, a smooth, minty coconut filling, and a sprinkling of crushed candy canes—these festive, vegan, mini cups are sure to delight and simple to make!
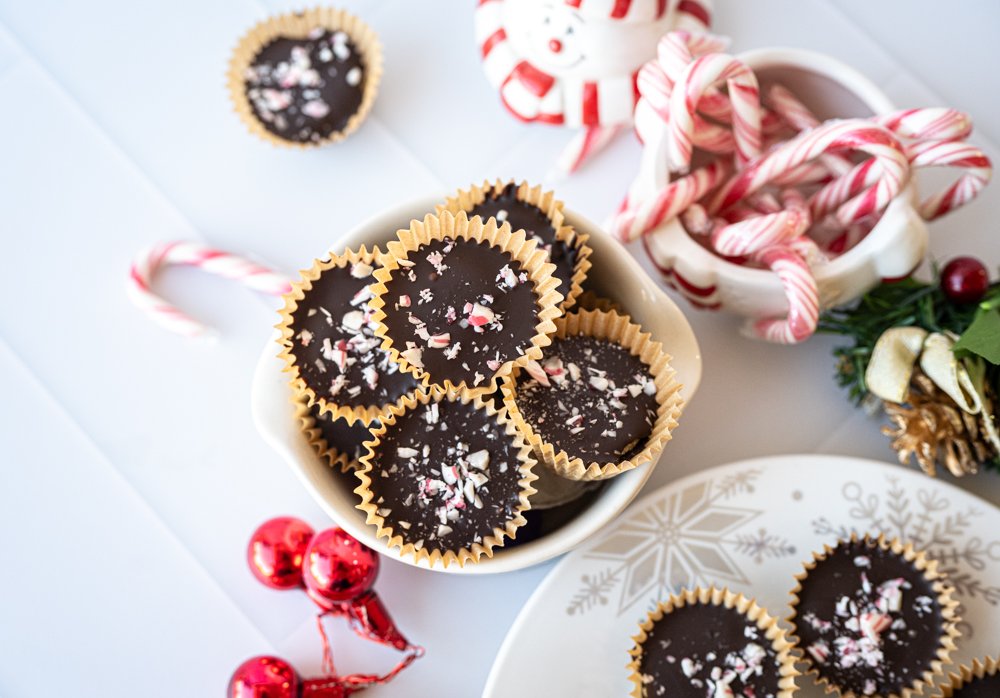
Are they a variation of classic peanut butter cups? Bounty Bars? Or peppermint patties? One bite, and the answer simply doesn’t matter, if it ever really did.
Cups are a staple at our house, typically the traditional chocolate-peanut butter sort. They’re my husband’s favorite snack, and I may have spoiled him to the point that the biggest suprises are when the tin of them we keep in the freezer is empty, as opposed to coming home to a fresh, glossy tray. That said, whether there’s one left of a brand new 2-dozen or so, they never fail to delight! While they’re expected, they’re not taken for granted.
While Dave prefers to keep a good thing going with favorite flavors, F is keen to experiment. We’ve tried rocky road versions with mini marshmallows and nuts, date caramel, peanut butter and jam, chia jam…all sorts. We’ve tried minty ones, too, but when we saw a bag of fancy looking vegan peppermint-filled cups at Sprouts lately, his eyes lit up. The light gave way to an eyeroll moments later, though, when our fiscally responsible boy calculated the cost per cup, a little aghast at the cost for a measly 5 cups while factoring in the packaging toll.
The store-bought cups looked decadent, heavenly, and refreshing, and I can see myself purchasing a pack one day as a “something special” over the holidays. These, though, are a lot more special. More economical, too, relatively. Chocolate prices are steep right now, but all chocolate prices. Making your own means much greater yields, and you get to be in charge of everything that goes in, too. In this case, we keep it simple; almost always, that’s the formula for a true chef’s KISS. :)
Making these Chocolate Peppermint Cups
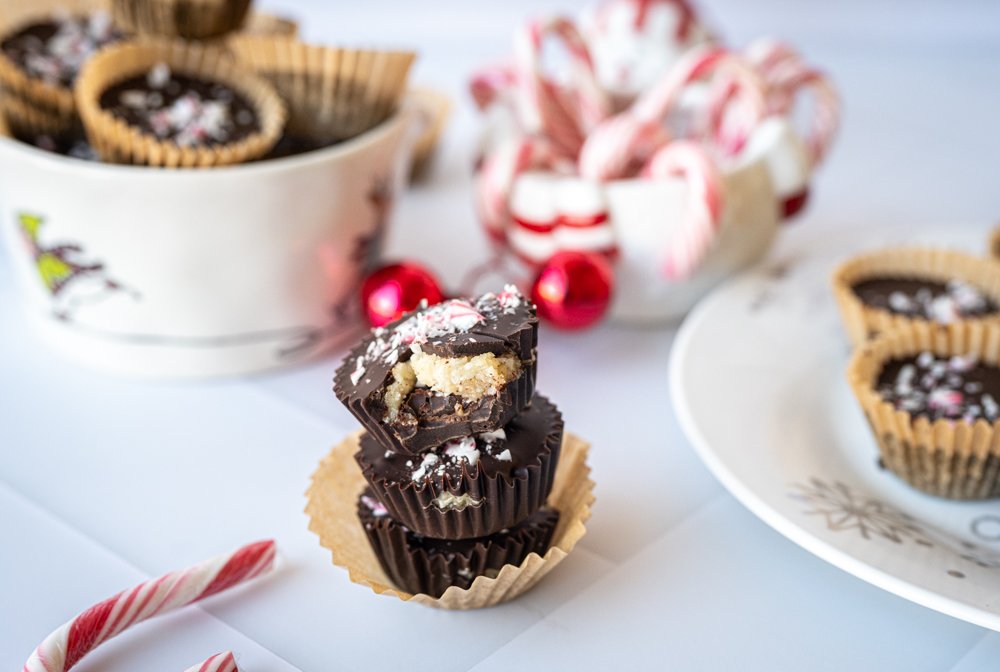
Blend the Filling: This filling isn’t firm-creamy like a peppermint patty, nor is it characterized by sweet shredded coconut, like a Bounty Bar. It’s kind of an in-between, smooth but solid enough to shape like a cookie dough. If you want to go for creamier, you can give your coarse coconut shreds a quick pulse in the processor first, or blend the cashews, maple syrup, and peppermint together until ultra-smooth before folding in/blending the coconut. Alternatively, you could probably swap in coconut cream or milk for the shreds. I haven’t tried this, but I’m tempted. I’ll update here when/if I give it a go! If you try first, consider placing the tray in the freezer for 10-20 minutes to set after adding the filling and before spooning over the top layer of chocolate.
Keep plant milk minimal: I typically use a full 1/4 cup of plant milk, but start blending/processing without any. The splash of maple syrup and cashew oils may be enough for your blender. If it stalls, add plant milk 1 tablespoon at a time until it catches. Plan to pause and scrape down the sides several times. Because of this, the food processor works best for me rather than a blender, but both are doable. The mixture should feel thick and pliable like a soft dough, not a liquid pourable batter.
Add peppermint extract judiciously: F and I are mint lovers, so we tend to like to include a good punch of extract (but no more than 1/2 teaspoon!). Too much, though, and a dreamy refreshing flavor quickly becomes more like toothpaste, so we are cautious, starting with 1/4 teaspoon or even less, tasting, and adding by the drop. Besides, Dave is only so-so on mint, so we compromise and go a little lighter so everyone can enjoy.
Chill while you melt: Pop the blended filling into the fridge while you melt the chocolate. This firms up the coconut oil naturally present in the cashew/coconut blend, making it super easy to roll into neat discs that drop straight into your chocolate-lined muffin liners. Then again, if you’re microwaving your chocolate and only need about 1 minute or 2 before proceeding to the next step, don’t fret. The filling can be added straight from the processor, no problem.
And about that chocolate…many recipes will include some coconut oil to assist in achieving a glossy sheen, but I find you don’t need any oil if you gently temper your chocolate. You don’t need special equipment; a glass bowl over a saucepan will do fine. Just don’t let the simmering water touch the bottom of the bowl! The taste stays great, but I’ve had many disappointments with various recipes all due to a matte finish.
This is just a template, of course—always get creative when the mood hits! We like to dust the tops with crushed candy canes or a sprinkle of coconut. You do you. Revel in the little bites and how they satisfy with just a rich and refreshing mouthful. Enjoy! xo

Peppermint “County” Cups
Rich, bittersweet dark chocolate, a smooth, minty coconut filling, and a sprinkling of crushed candy canes—these festive, vegan, mini cups are sure to delight and simple to make!
Ingredients
- ¾ cup raw cashews, soaked in freshly boiled water 30 minutes and drained
- ½ cup unsweetened shredded coconut
- 2 tablespoons pure maple syrup
- ¼ -½ teaspoon peppermint extract (start with ¼ tsp)
- 2-4 tablespoons plant milk of choice (or as needed)
- 1 10-ounce bag vegan dark chocolate chips or chunks
Instructions
- Line a mini muffin tin with mini liners and set aside.
- Make the coconut mint layer: Place your soaked, drained cashews, unsweetened shredded coconut, maple syrup, and 1/4 teaspoon peppermint extract into a high speed blender or food processor. Process until fairly smooth (there will still be texture from the coconut), pausing to scrape down the sides and adding plant milk as needed. You should end up with a thick and pliable blend, like a soft dough. Transfer the dough-like mixture in a container and place in the fridge while you melt the chocolate.
- Melt the chocolate: Temper the dark chocolate in a double boiler or a heatproof bowl over a saucepan filled with 1-2 inches of gently simmering water. Ensure the bottom of the bowl doesn't touch the water--this will keep it looking glossy later. Stir constantly until melted and smooth. *Alternatively, you can microwave in a microwave-safe bowl on high for 30-second intervals, stirring after each round until the chocolate is silky and smooth.
- Assemble the cups: Spoon melted chocolate on the bottom of each mini muffin liner. In addition to creating a bottom layer of chocolate, aim to coat the sides of the cups, but don't worry if you don't completely succeed. You can choose to chill the bottom layer a little before proceeding, but you don't have to!
- Working one at a time, pull a little bit of the peppermint coconut "dough" and form a mini miffin size disc. Place the disc on top of a bottom layer of chocolate. Repeat until adding the middle layer to all of the cups.
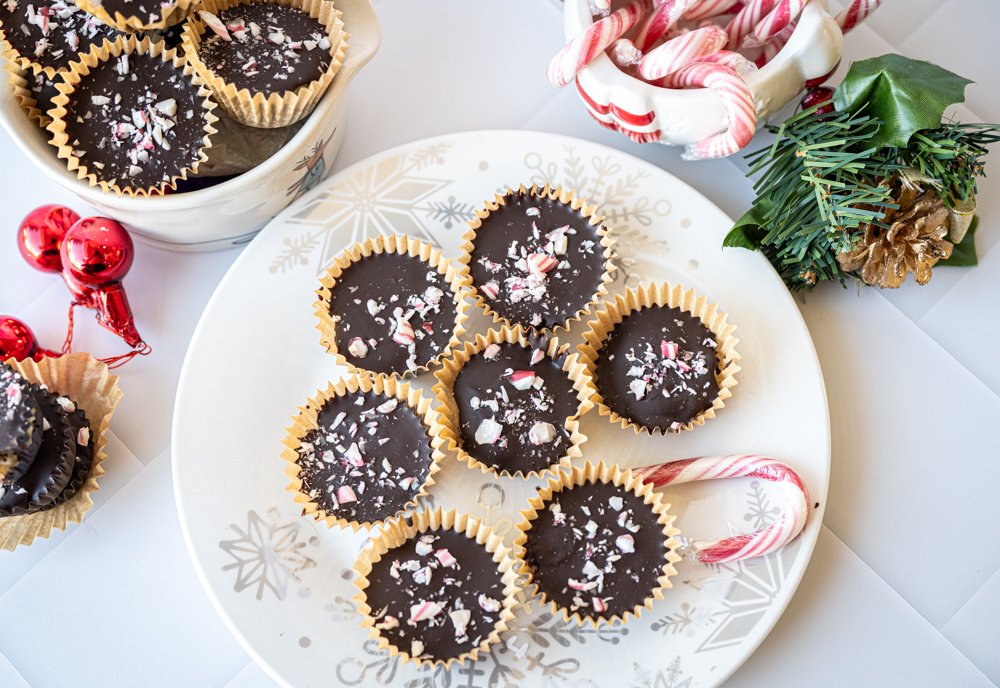
- When the middle layers are in place, top each with the remaining melted chocolate. If desired, sprinkle the tops with crushed candy cane pieces. Chill or freeze. When ready to enjoy, let the cups sit at room temperature for about 5 minutes.